
Making a Simple Fire Poker from Mild Steel

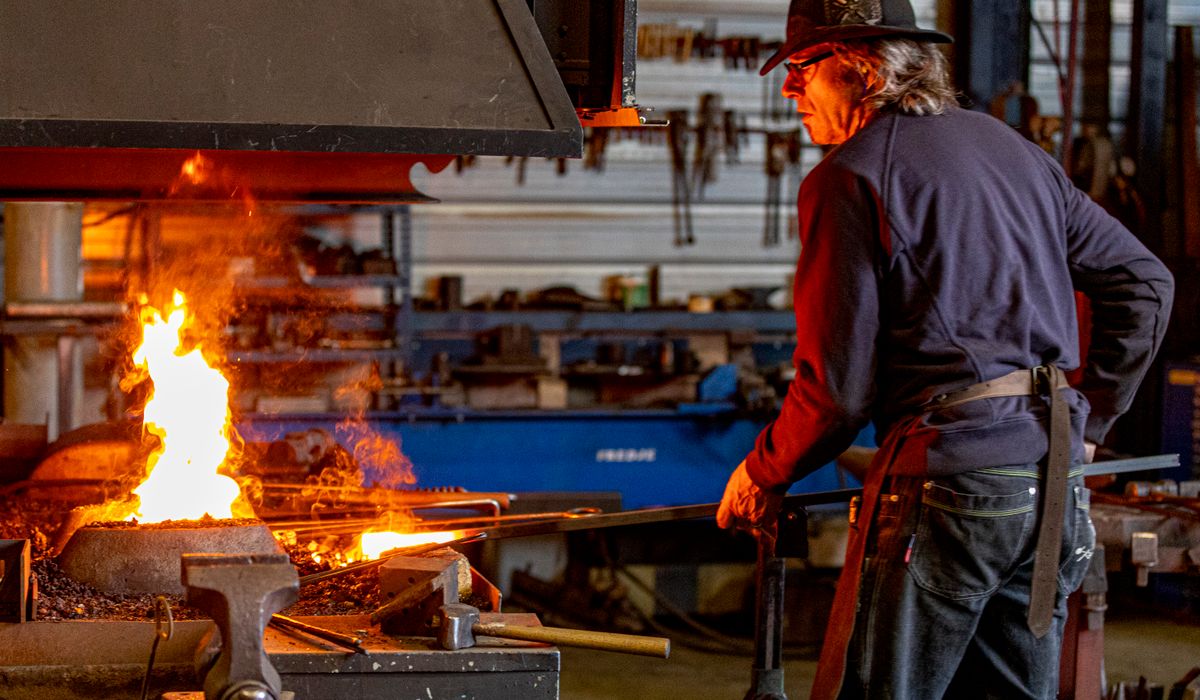
Why a Fire Poker Makes the Perfect First Forging Project
If you have just got your first forge running and you are wondering what to make, a fire poker is the answer most experienced smiths give for good reason. It uses a single length of steel, needs no welding or joinery, and calls on the three core skills that underpin almost everything else at the anvil: drawing out a taper, bending a controlled curve, and finishing a piece so it looks deliberate rather than accidental.
It is also genuinely useful. A well-made poker will outlast anything you can buy from a garden centre, and every time you use it you will be reminded of what your hands can do. More importantly, it is forgiving. Mild steel is cheap, so a mistake costs you very little, and there are no critical tolerances to miss. Aim for a poker you are happy to leave beside the hearth, not a museum piece.
Choosing Your Steel and Setting Up
Start with a length of 10mm or 12mm mild steel round bar, cut to about 600mm. This is the sweet spot: thick enough to feel substantial in the hand, thin enough to move under a hammer without exhausting you. If you are working with a small gas forge or a brake drum forge, 10mm is the kinder choice. Avoid reinforcing bar, which is inconsistent and often contains scrap of unknown composition that will fight you.
Before you light anything, check your setup:
- Set the anvil so the face sits roughly at knuckle height when you stand relaxed. This saves your back and your aim.
- Have a pair of tongs that hold the bar securely. Loose grips cause more bad hammer blows than poor technique.
- Keep a hacksaw, a couple of files, a wire brush, and a bucket of water within reach.
- Wear safety glasses at all times, and remember that hot steel looks identical to cold steel once it drops below a dull red.
You do not need a large hammer for this. A 1kg to 1.5kg cross-peen or ball-peen hammer is plenty, and a lighter hammer used accurately beats a heavy one used wildly every time.
Drawing Out the Point
Heat the last 150mm of one end to a bright orange-yellow, around the point where it is starting to sparkle but before it turns white. Take it to the anvil and hold the bar so the heated end sits just over the far edge, tilted down a few degrees.
Strike so that the hammer face overlaps the anvil's edge, which forces the metal to flow outwards rather than flattening against the face. Give the bar a quarter turn between blows so you keep the taper even and round rather than flattening it into a blade. Work your way along the taper in overlapping blows, returning to the forge the moment the steel drops below a dull orange.
Push too far and the metal will split or fold. Take your time, use several heats, and check the taper by sighting along the bar with one eye closed. A good poker tip tapers from full thickness down to a fine point over roughly 100mm to 150mm. If it goes crooked, straighten it on the anvil face while it is still hot.
Forming the Hook and the Handle
At the other end, heat the last 120mm to orange and bend a simple hook over the horn of the anvil, working in small increments and checking the curve against your eye. You want the hook open enough to lift a log or rake out a stubborn ember, but not so open that it slips off. A gentle C-shape works well.
If you fancy something more decorative, this is where a twist earns its keep. Heat a 100mm section just behind the hook to a uniform orange, grip one end in a vice, and turn the other with a pair of tongs or a pipe wrench. Count your turns so the twist is even, and stop while the metal is still bright. Two or three full rotations look good on a poker of this size; more starts to look fussy.
You can also form a small scroll at the handle end by curling the tip back on itself over the horn. It gives the hand something to catch and stops the poker sliding through your fingers.
Finishing and Protecting the Steel
Once the shape is right, straighten the poker by sighting along its full length and making small corrections on the anvil face while the steel is warm. Do not hammer mild steel cold; you will only mark it and risk cracking the surface.
For a traditional finish, bring the whole piece to a dull red and scrub it with a wire brush to remove scale, then let it cool slowly in air. Apply a coat of beeswax or linseed oil while it is still warm enough to melt the wax but cool enough to touch with a gloved hand. The wax soaks into the surface and gives a deep, near-black finish that resists rust.
Do not quench mild steel in water expecting it to harden. It will not, and rapid cooling only makes it brittle for no benefit. Air cooling is correct here.
Common Mistakes and Where to Go Next
The three faults I see most often in a first poker are working steel that has gone too cold, tapering too aggressively in one heat, and leaving deep hammer marks that distract from an otherwise tidy shape. All three are cured by patience and by taking one more heat than you think you need.
When you are happy with your poker, keep going. The same skills translate directly into a toasting fork, a bottle opener, or a set of simple tongs. Each one builds on the last, and before long you will be looking at every piece of scrap steel as a project waiting to happen.

Joeby Ragpa
This template is so awesome. I didn’t expect so many features inside. E-commerce pages are very useful, you can launch your online store in few seconds. I will rate 5 stars.
ReplyAlexander Samokhin
This template is so awesome. I didn’t expect so many features inside. E-commerce pages are very useful, you can launch your online store in few seconds. I will rate 5 stars.
ReplyChris Root
This template is so awesome. I didn’t expect so many features inside. E-commerce pages are very useful, you can launch your online store in few seconds. I will rate 5 stars.
Reply